A Practical Guide to the Installation of Bollards
Getting your bollard installation right begins long before you pick up a shovel. Proper planning is the most important part of the job; it’s what ensures your investment provides the best possible vehicle security and lasts for years. As a family-owned business helping protect UK properties since 1972, we know that laying the groundwork properly is the secret to a perfect finish. This guide will walk you through the process, just as if we were advising a neighbour.
Laying the Groundwork for a Perfect Installation

Here at Bison Products, we've seen it all when it comes to security. One thing is certain: the best jobs, without fail, start with a solid plan. Rushing this first phase is the most common reason a DIY installation goes wrong, and it’s a pain point we want to help you avoid.
Before any digging happens, take a proper look at the site. What surface are you working with? Is it tarmac, block paving, concrete, or loose gravel? Each one presents its own challenges for excavation and making good afterwards, so knowing what you’re up against helps you get the right tools and approach from the start.
The Critical Safety Check: Underground Services
The single most crucial part of your site check is finding out what’s buried underneath. Accidentally hitting a gas main, water pipe, or electrical cable is not only incredibly dangerous but can also lead to seriously expensive and disruptive repairs.
Our Pro Tip: Never assume the ground is clear. If you have the slightest doubt about where underground services might be, use a Cable Avoidance Tool (CAT scanner) or get hold of the utility plans before you break ground. Your safety is always the top priority.
It’s also smart practice to carry out a Job Safety Analysis (JSA) to spot any potential hazards at each stage of the installation. If you're new to this, looking at some practical Job Safety Analysis (JSA) examples is a great way to get your head around creating your own safety checklist.
Matching the Bollard to Your Needs
Once you're confident the area is safe, it’s time to choose the right solution for your specific security problem. The bollard you pick should be a direct answer to your needs.
-
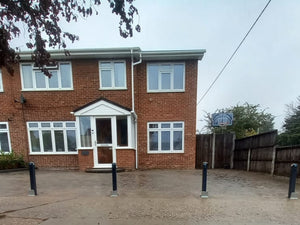
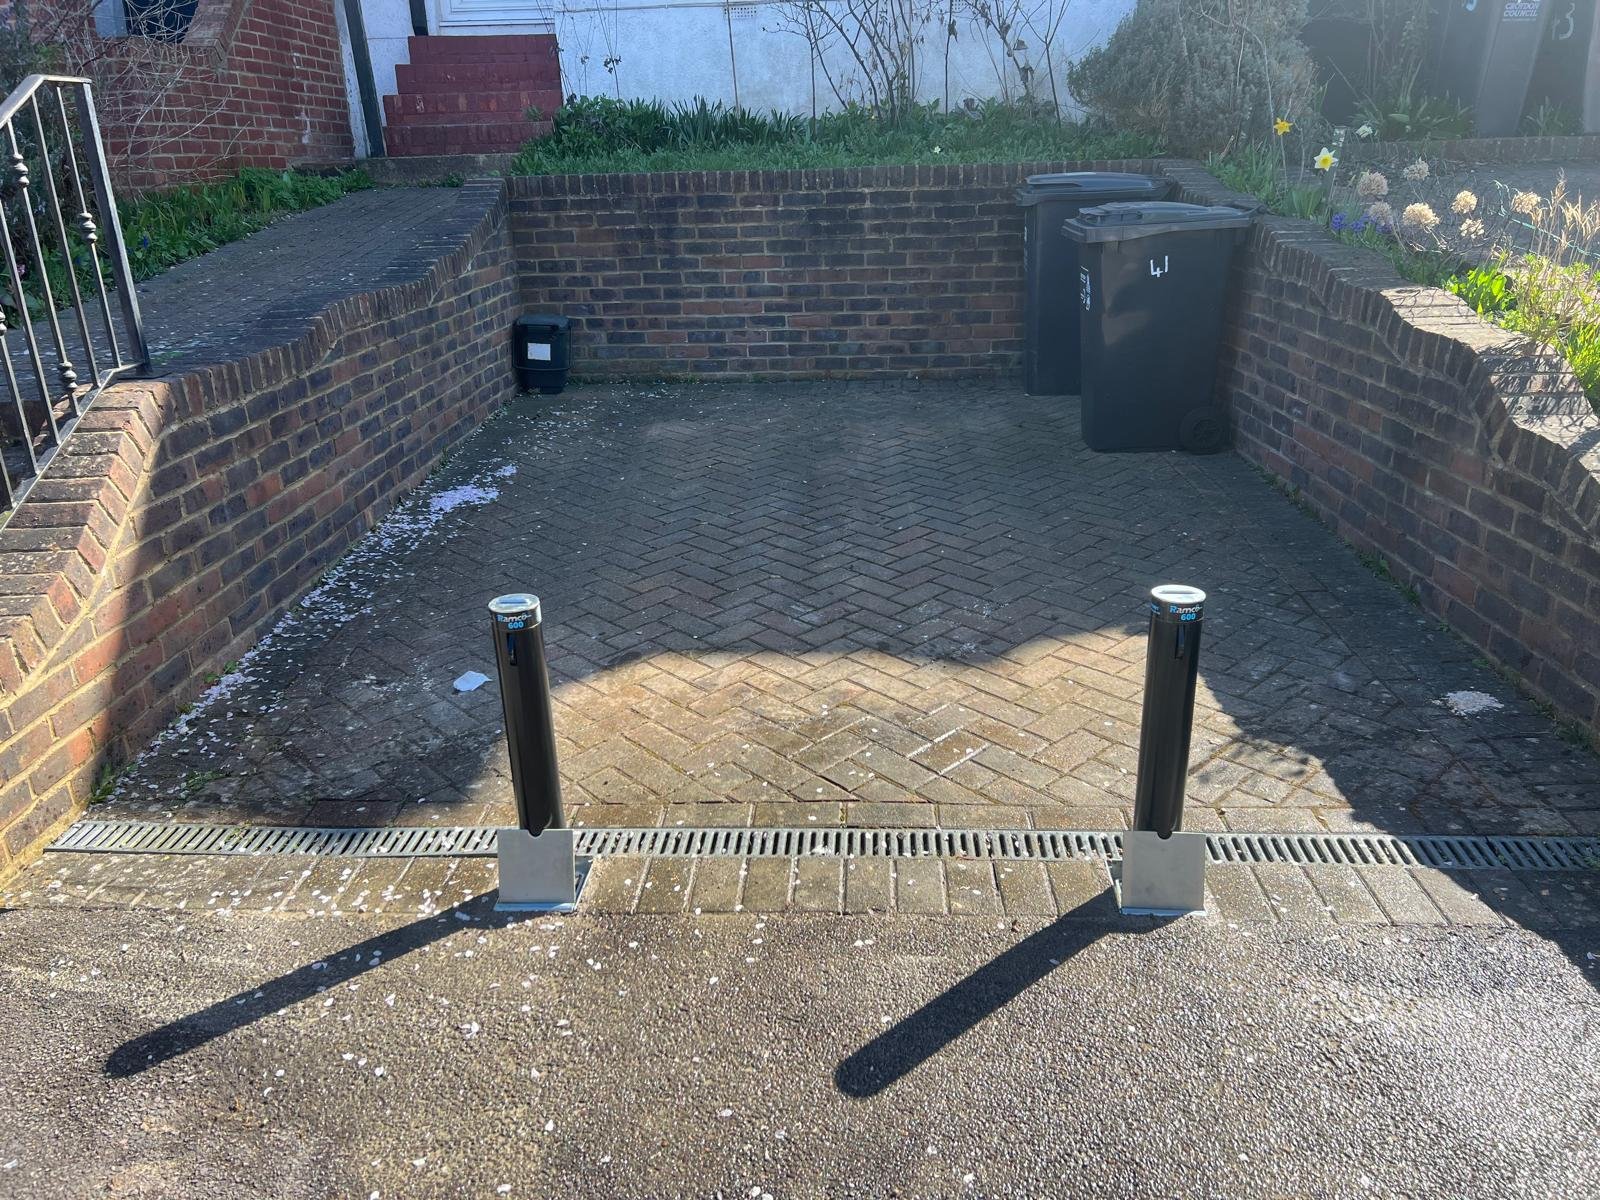
Telescopic Bollards: Perfect for residential driveways or anywhere you need flexible access. They provide robust protection when raised but sit completely flush with the ground when you need to drive through, offering brilliant driveway protection.
-
Fixed & Static Bollards: Ideal for setting up a permanent security line. They're the go-to for protecting shop fronts, creating pedestrian-only zones, or marking boundaries where vehicles should never go. Our guide on how bollards enhance pedestrian safety explains more about their public-facing benefits.
To make this a bit easier, here’s a quick table to help you decide.
Choosing the Right Bollard for Your Property
This quick reference should help you match the correct bollard type to your specific security and access needs.
Bollard Type |
Best For |
Key Advantage |
|---|---|---|
Telescopic |
Driveways, car parks, restricted access areas |
Retracts fully into the ground for flexible access |
Fixed/Static |
Shop fronts, building perimeters, pedestrian zones |
Permanent, robust barrier against vehicle impact |
Removable |
Loading bays, event spaces, occasional access |
Can be physically removed to open up an area |
Getting the right British-made bollard for your situation is half the battle won.
This focus on security isn't just a local trend. The bollard installation service market across the UK is seeing major growth, especially with increasing urbanisation and security worries in cities from London to Birmingham. Nailing your initial planning ensures your project is up to a professional standard.
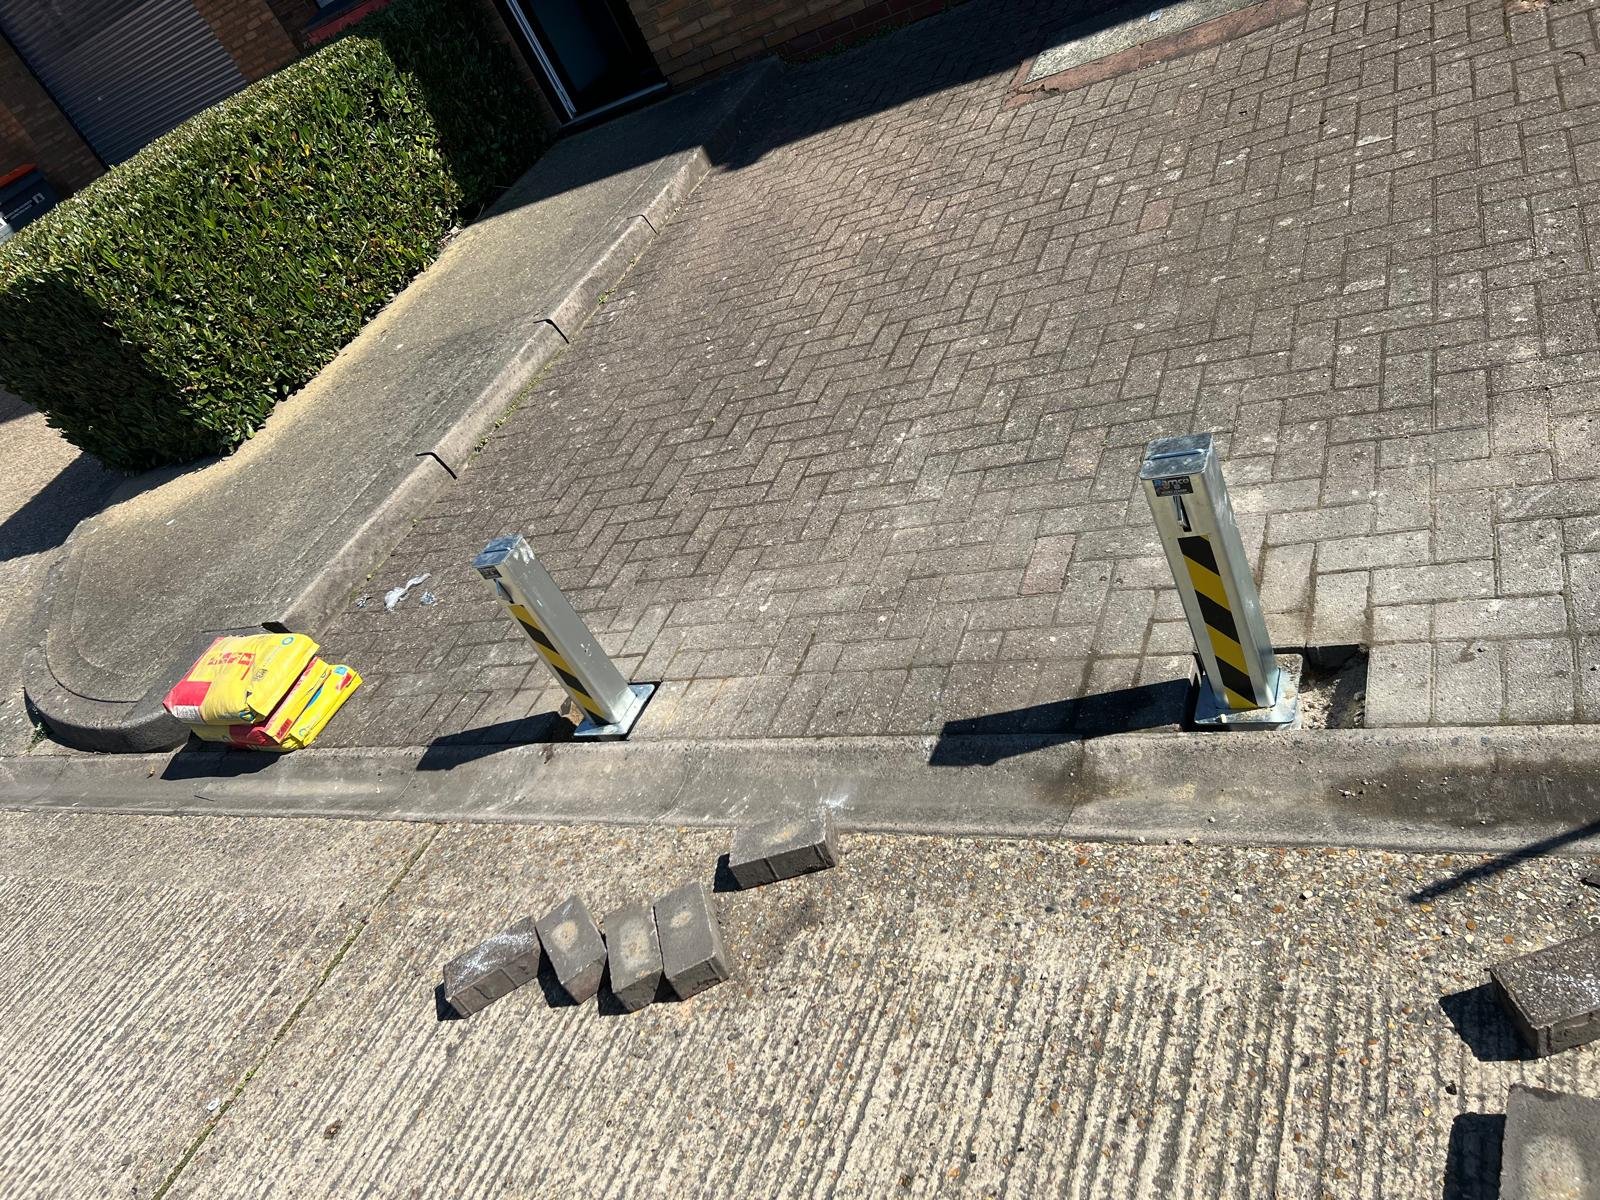
How to Prepare the Ground for a Rock-Solid Foundation
A security bollard is only ever as strong as the hole it sits in. Getting the ground preparation right is what separates a professional, long-lasting installation from one that will let you down. This stage turns a simple patch of earth into a rock-solid foundation, giving you decades of reliable driveway protection.
First, you need to mark out your spot accurately. Take your time to measure and mark exactly where the bollard will go. Think about security and aesthetics—it has to be positioned to stop a vehicle effectively, but you also want it to look neat. A simple can of spray paint or chalk works perfectly for this.
Digging Out the Perfect Foundation
Once marked, it's time to dig. The depth and width of the hole are absolutely critical for the bollard's stability. A shallow foundation is a weak foundation, and this is one corner you just can't afford to cut.
For most standard telescopic or fixed bollards, we recommend digging a hole that is at least 200mm square and around 850mm deep. If you’re installing a high-impact security bollard or dealing with particularly soft ground, you’ll need to go deeper to ensure it can handle significant force.
This infographic gives you a straightforward visual guide to help with that initial decision.
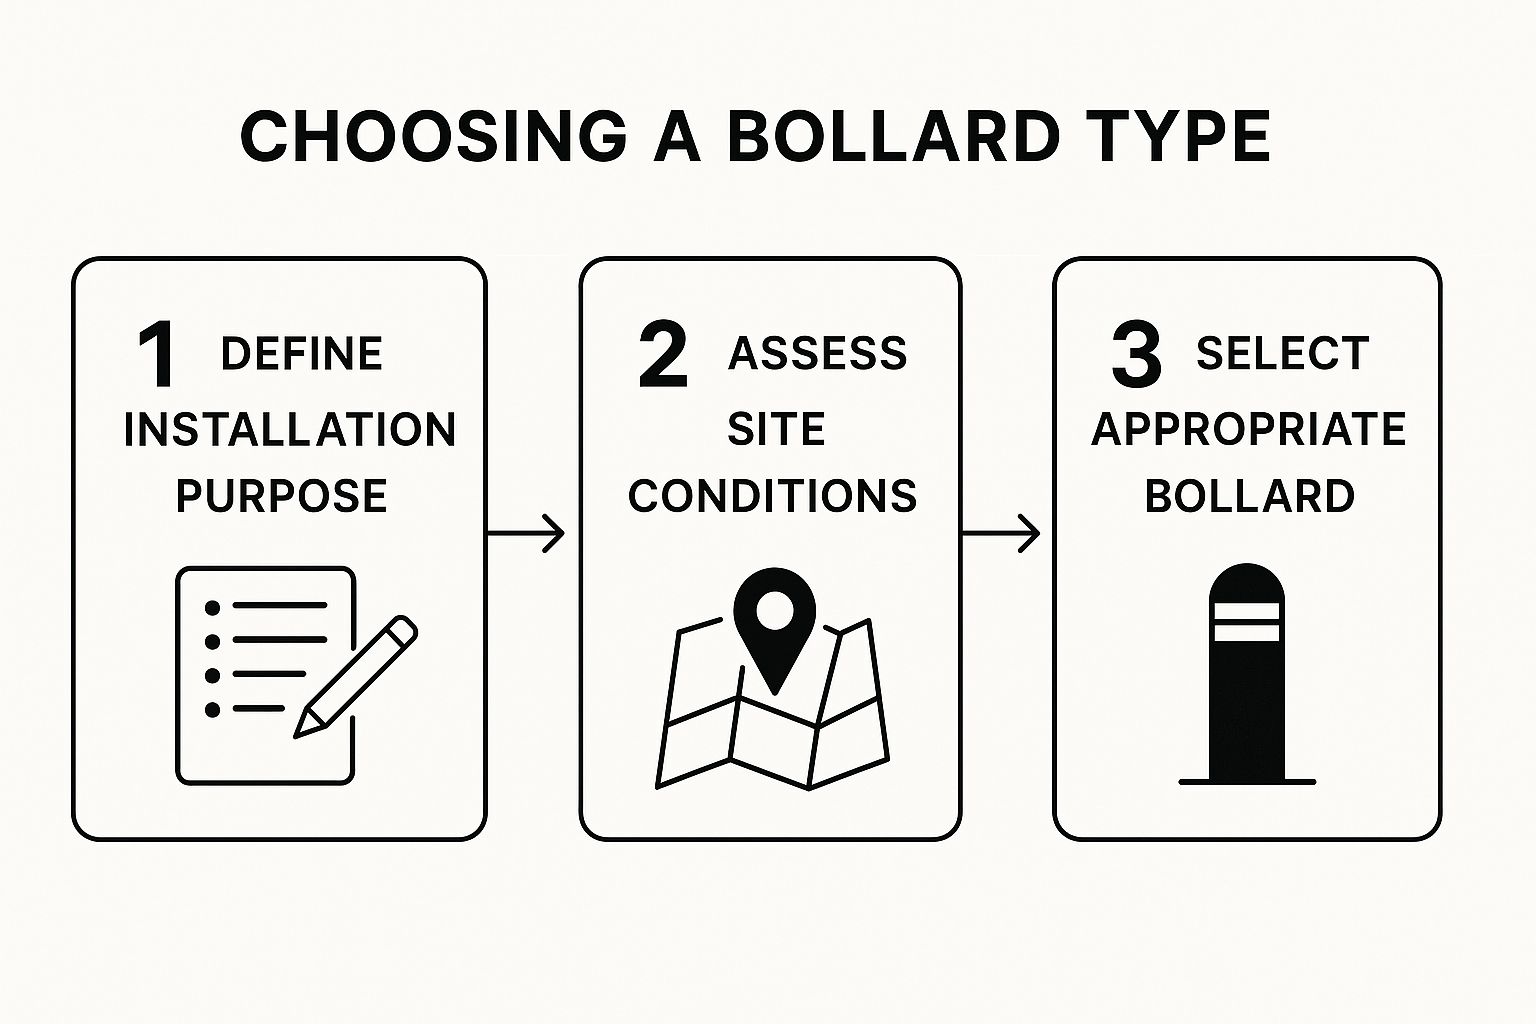
Knowing your main goal from the get-go will directly influence how deep and wide your foundation needs to be for the best possible security.
The Importance of Good Drainage
If you’re fitting a telescopic bollard, good drainage isn't just a nice-to-have; it's non-negotiable. If water pools inside the bollard's outer casing, it will inevitably lead to rust and seizure. Before you know it, the post won't operate smoothly—a classic failure point we see in rushed DIY jobs.
To prevent this, create a simple soakaway at the bottom of the hole.
-
Go a Bit Deeper: Dig the hole about 150mm (6 inches) deeper than the bollard casing requires.
-
Add Your Drainage Layer: Fill this extra space with coarse gravel or pea shingle.
-
Compact the Base: Firmly tamp down the gravel layer. This creates a stable, level base for the bollard to sit on.
This simple step allows rainwater to drain away from the steel mechanism, dramatically extending the life of your investment. For more specific advice, our detailed guide on driveway security post installation covers this topic in much more detail.
As you dig, shovel the soil (the spoil) onto a tarp or a large board next to the hole. This keeps your driveway clean and makes backfilling much easier later on. It’s a small tip, but it saves a massive amount of cleanup time.
Mixing and Pouring Concrete for Maximum Strength
Getting the concrete mix right is what truly anchors your security bollard, giving it the backbone it needs to stand firm for years. This isn’t just about filling a hole; it’s about creating a professional-grade foundation. A weak mix will undermine the entire installation, no matter how well you did the prep work.
The good news is that you don’t need to be a construction expert. We’ve found the most reliable and robust mix for bollard foundations is a C30/C40 strength concrete. You can achieve this by mixing cement, sharp sand, and aggregate (like 20mm gravel) at a simple 1:2:4 ratio.
This means one part cement, two parts sand, and four parts aggregate. This recipe provides excellent compressive strength without being overly complicated.
Achieving the Perfect Consistency
The amount of water you add is just as important as the dry mix. Your goal is a consistency that’s workable but not sloppy. It should be just wet enough to pour easily into the hole but stiff enough to hold its shape.
A common mistake is adding too much water. A wet, runny mix is weaker and more prone to cracking as it dries. You're looking for a smooth, thick consistency—think of a thick cake batter.
Once you start pouring, do it in stages. Get a layer of concrete into the bottom of the hole first, creating a level pad for the bollard casing to sit on. Then, carefully lower the bollard into the hole.
Positioning and Bracing Your Bollard
With the bollard in place, a spirit level becomes your best friend. Check that it is perfectly vertical from multiple angles. This is your last chance to get the alignment spot on, so take your time.
Once you’re happy, it’s essential to brace the bollard so it doesn’t shift while the concrete sets. You can do this easily with a couple of timber battens wedged against the sides of the bollard and the edge of the hole.
With the bracing secure, continue to pour the concrete in layers around the casing. As you add each layer, grab a piece of wood to gently poke and tamp the concrete down. This simple action is vital:
-
It Removes Air Pockets: Trapped air creates weak spots in the cured concrete.
-
It Ensures Full Coverage: It helps the concrete settle into every nook and cranny.
Fill the concrete to just below the final ground level. This leaves enough room to neatly finish the surface later. Getting this stage right is fundamental to a successful installation of bollards that provides genuine security.
Applying the Finishing Touches for a Flawless Result
Pouring the concrete might feel like the final hurdle, but the next steps are what separate a professional, long-lasting installation of bollards from a job that just won't stand the test of time. A bit of patience now is crucial.
Let the Concrete Cure Properly
It’s tempting to start using your new bollard as soon as the concrete looks dry. Honestly, this is a mistake that can completely undermine your hard work. The concrete needs a decent amount of time to harden and build up its full strength.
We always tell our customers to leave the concrete to cure for a minimum of 72 hours before using the bollard. This waiting period allows the foundation to become rock-solid, ready to handle potential impacts and the wear and tear of daily use for years to come.
Rushing the curing process is a common DIY error. A foundation that hasn't fully set can shift or crack under pressure, seriously reducing the bollard's security value.
Creating a Seamless Surface Finish
Once you're confident the concrete has fully cured, you can make the area look neat and tidy. This isn't just about aesthetics; it also removes potential trip hazards.
How you approach this depends on your driveway's surface:
-
For tarmac or plain concrete: A great technique is to create a smooth, slightly sloped concrete finish around the bollard's casing. This clever touch helps rainwater drain away, giving it extra protection.
-
For block paving: Now you can relay the blocks you carefully put aside earlier. You’ll need to cut them precisely to fit snugly around the bollard casing. The goal is a seamless, professional finish that blends in perfectly.
It's amazing how much easier this is today. Historically, installing bollards in the UK was a massive undertaking. Old-school bollards could weigh up to 55kg and required deep concrete foundations. Modern innovations have thankfully changed the game. You can read more on how bollard installation has evolved to appreciate how much simpler these finishing touches have become.
Final Checks for Telescopic Models
If you’ve installed one of our telescopic models, like the ever-popular Ramco 100, there are just a couple of final checks. First, test the locking mechanism. Does the key turn smoothly? Does the pin engage correctly?
Next, raise and lower the post a few times. You want it to glide effortlessly. These small details guarantee a flawless result, enhancing the look and long-term durability of your investment in vehicle security.
When to Choose Professional Bollard Installation
While we've walked you through the steps for a solid DIY installation, it's not always the right path for everyone. Since 1972, we've seen countless situations where calling in the professionals is a smarter long-term investment in your property’s security.
Opting for professional installation is about buying peace of mind. It’s the assurance that every aspect of the job is handled by experienced hands. This is especially true when navigating the unexpected.
Guaranteeing Compliance and Protecting Your Warranty
A huge advantage of a professional fitting is the guarantee of compliance. Our teams ensure every installation meets relevant British Standards, providing a level of security a DIY job might overlook.
Crucially, a professional installation protects your product warranty. An incorrect DIY fitting can sometimes void the 2-year warranty that comes with our British-made bollards. Letting our experts handle it means your investment is fully protected from day one.
Handling Unexpected Challenges
Even the most straightforward driveway can hide surprises. Our professional installers are equipped to manage unforeseen issues that could derail a DIY project.
What happens if you hit unusually tough ground, a hidden tree root, or an uncharted utility pipe? Our team knows how to adapt, solving problems on the spot without causing damage or costly delays. This expertise turns a potential headache into a smooth process. It's also worth noting how professionals handle waste; understanding the role of waste management in sustainable construction projects is crucial for a complete and responsible project.
Choosing a professional team means you're investing in experience. It’s the difference between a job done and a job done right, ensuring your vehicle security is truly reliable.
The Value of Time and a Perfect Finish
Let's be honest—your time is valuable. A professional team can complete an installation much faster than the average DIYer, minimising disruption. They arrive with every tool needed, from core drills to CAT scanners, ensuring a clean and efficient job.
This efficiency is especially important in high-traffic areas. A swift, professional installation ensures your property is secured quickly, regulating vehicle access and enhancing protection without a lengthy period of disruption.
Ultimately, the finish speaks for itself. Whether it’s seamlessly relaying block paving or creating a perfect concrete top, the final result is flawless. If you're considering this route, you can explore our range of expertly installed security bollards to see how we can help protect your property without the hassle.
Your Bollard Installation Questions Answered
We’ve been helping people secure their properties since 1972, so believe us when we say we’ve heard every question under the sun about bollard installation. It's natural to have queries, and we want to clear up any doubts so you can feel confident about protecting your property.
Here are the most common questions we get from homeowners and businesses across the UK.
How Long Does a Typical Bollard Installation Take?
This is probably the number one question we hear! For a professional, fitting a single bollard usually takes about 2 to 4 hours. Most of that time is spent on digging and groundwork.
The most critical part of the timeline, however, is the one you can't rush: letting the concrete cure. The foundation needs a minimum of 72 hours to set properly. Only then will it be strong enough to handle any impact. Trying to use the bollard before then is a common mistake that can completely undermine its security.
Can I Install a Bollard on a Sloped Driveway?
Yes, you can, but it requires a bit more planning. The key is ensuring the top of the bollard's outer casing is perfectly level with the ground. On a slope, this often means creating a small, level concrete plinth for it to sit in.
If you're fitting a telescopic model, you also have to be sure the post can retract fully without being obstructed by the slope. For any sloped installation, we always suggest getting a professional opinion to ensure everything will work safely.
What Should I Do If I Hit a Pipe or Cable?
This is the exact scenario that makes checking for underground services an absolutely non-negotiable first step. Hitting a utility line isn't just dangerous; it can lead to eye-watering repair bills. We always advise using a Cable Avoidance Tool (CAT scanner) if you have any doubts about what's under the surface.
If the worst does happen, stop work immediately. The first priority is to secure the area to keep everyone safe. Then, call the emergency number for the relevant utility provider straight away. This is one of the main reasons many people decide to leave the installation to the professionals.
Do I Need Planning Permission to Install a Bollard?
For a single bollard on your private residential driveway, you typically do not need planning permission in the UK. That said, there are a few exceptions:
-
If your property is a listed building.
-
If you're situated within a designated conservation area.
-
If the bollard might obstruct a public footpath or right of way.
If you fall into any of these categories, or if you're looking at a larger commercial project, it's always smart to have a quick chat with your local council's planning department first. For a more detailed look at what to budget for, have a read of our guide to bollard installation costs.
Ready to secure your property with a professional, hassle-free installation? The team at Bison Products is here to help. Get Your Free Quote Today and invest in British-made quality you can trust.