Secure Your Driveway: Your Expert Guide to Security Post Installation
Worried about vehicle theft right from your own driveway? It's a growing concern for many UK homeowners. A professional driveway security post installation is one of the most effective physical deterrents you can choose. But it's not just about digging a hole; it's about a precise process that ensures lasting protection for your vehicle and peace of mind for your family. Get it right, and you create a formidable barrier that tells thieves to move on. This guide, built on our family's expertise since 1972, will walk you through doing it properly.
Why a Professional Installation is Your Best Defence
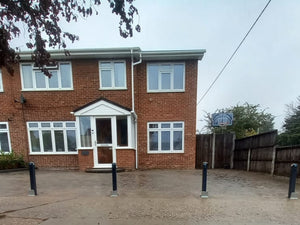
Let's be clear: a security post is only as strong as its foundation. A wobbly bollard loosely set in the ground is an open invitation to a determined criminal. A professional driveway security post installation, whether by you or our expert team, guarantees your investment provides maximum vehicle security. It’s about creating an immovable object that prevents theft and unauthorised access, anchored securely for years to come.
The Real Value of a Rock-Solid Installation
Think of your security post like the lock on your front door – it has to be fitted correctly to be effective. A poorly installed post can be pushed over or even ripped out, rendering it useless.
In contrast, a post that's been installed the right way:
-
Creates an uncompromising physical barrier that can stop a vehicle in its tracks.
-
Acts as a powerful visual deterrent, making your property a much less attractive target. According to the Office for National Statistics, vehicle theft remains a significant issue, making visible security more important than ever.
-
Enhances your overall property security, working alongside other measures like CCTV and alarms.
-
Provides long-term reliability, standing up to the British weather and daily use without failing.
As a key part of protecting your home, it's smart to look at the bigger picture. You can learn more about different ways to increase overall home security to build a more layered defence system.
Before you grab a shovel, a bit of planning goes a long way. This quick table breaks down the essentials.
Security Post Installation Overview
Consideration |
Key Details |
Our Expert Recommendation |
|---|---|---|
Site Assessment |
Check for underground pipes, cables, or drains. Ensure the ground is stable for digging. |
Always use a CAT (Cable Avoidance Tool) scanner before you dig. It’s a simple tool for complete peace of mind. |
Post Type |
Static, removable, or telescopic? Each has different installation requirements. |
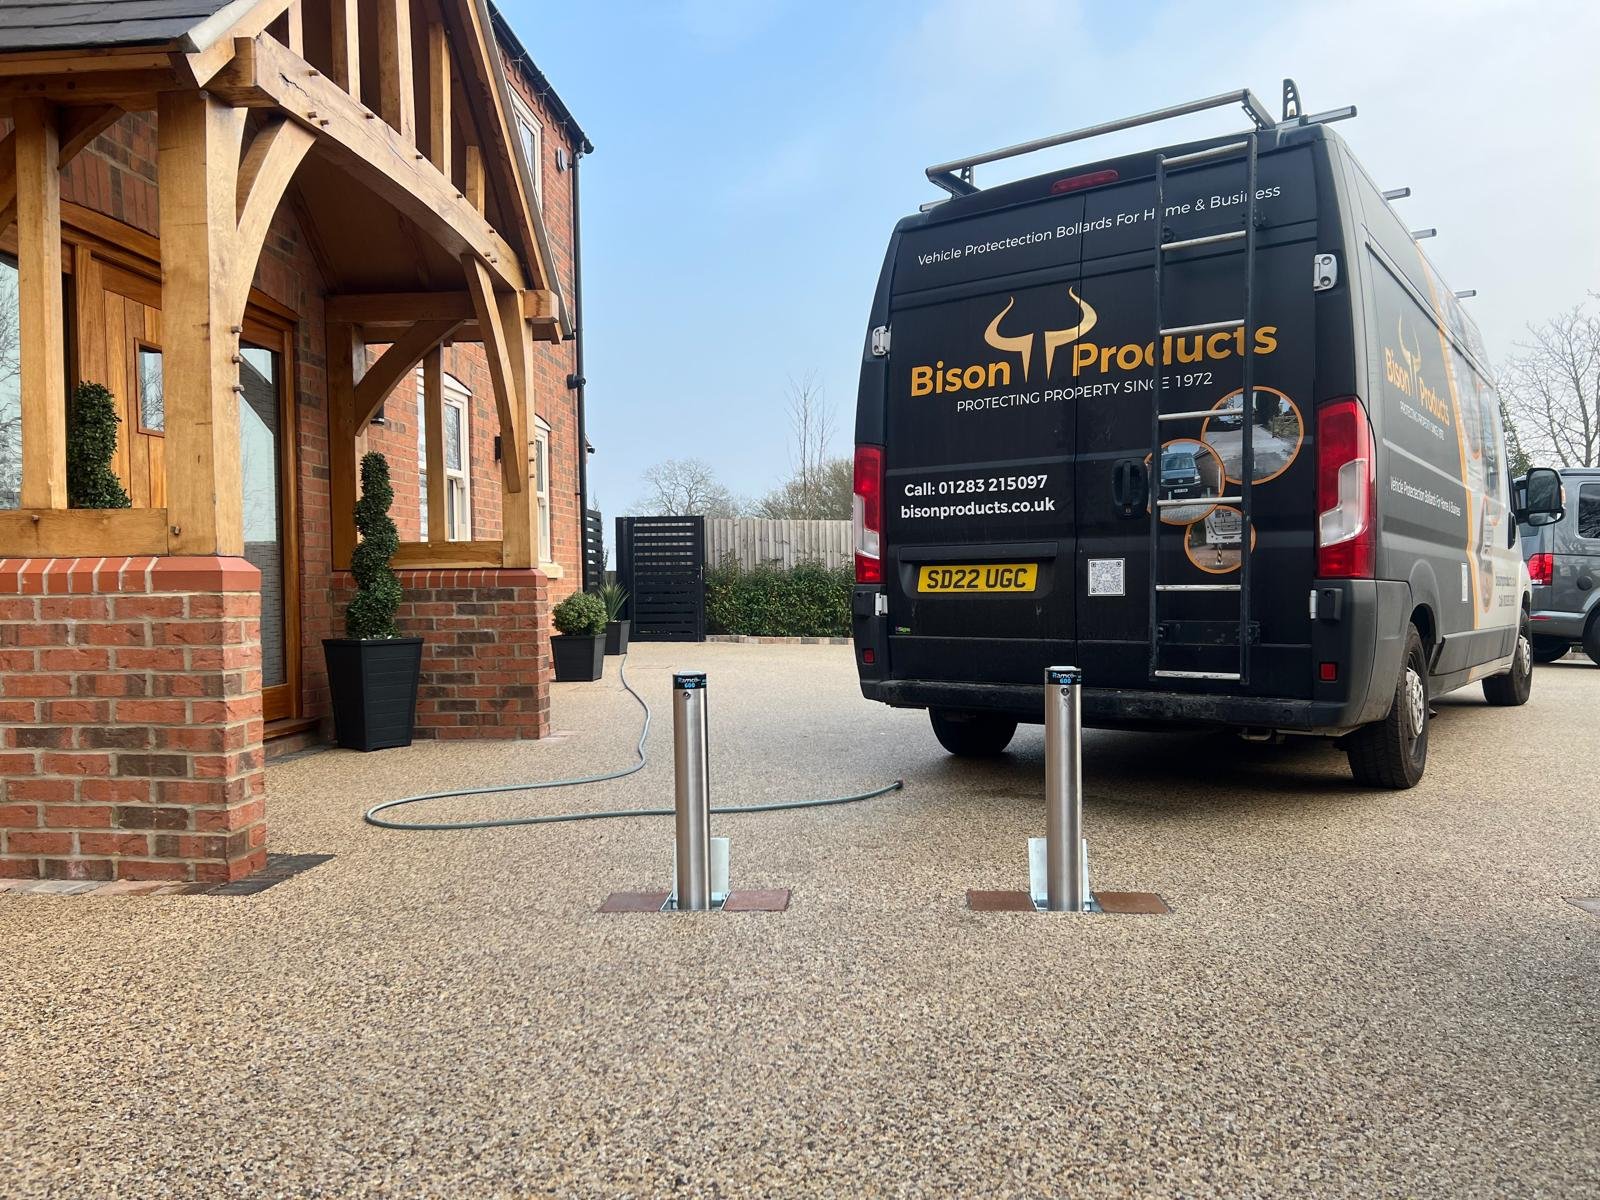
Telescopic posts like our British-made Ramco 100 require proper drainage. This is non-negotiable for longevity. |
Tools Required |
You'll need more than a spade. Think post-spoons, spirit level, and often a breaker. |
For a consistent, strong mix every time, using a fast-setting concrete like Postcrete is a game-changer. |
Foundation |
The size and depth of the concrete are critical for stability and resisting attack. |
For a standard telescopic post, aim for a hole at least 200mm square and deeper than the post casing itself. |
Getting these basics right from the start is what separates a professional-grade installation from a weak point in your driveway protection.
Making the Right Choice: DIY vs. Our Expert Fitters
Deciding whether to tackle the installation yourself or call in the professionals is a key first step. Simpler, static posts can be a great weekend project for a confident DIYer. However, the precision required for telescopic bollards often benefits from an expert touch.
Our professional installation teams handle every detail, from digging a perfect soakaway to ensuring the concrete mix is flawless. This not only guarantees the post’s effectiveness but also protects your 2-year warranty. Whether you do it yourself or trust our experienced fitters, we're here to help you get a secure driveway and the confidence that your property is properly protected.
Preparing Your Driveway for a Perfect Fit
Before a single shovel hits the ground, proper preparation is the secret to a successful driveway security post installation. Getting this stage right saves you from costly headaches and ensures your new post delivers the solid protection you expect. Honestly, we can't stress this enough – it's the foundation of the entire job.
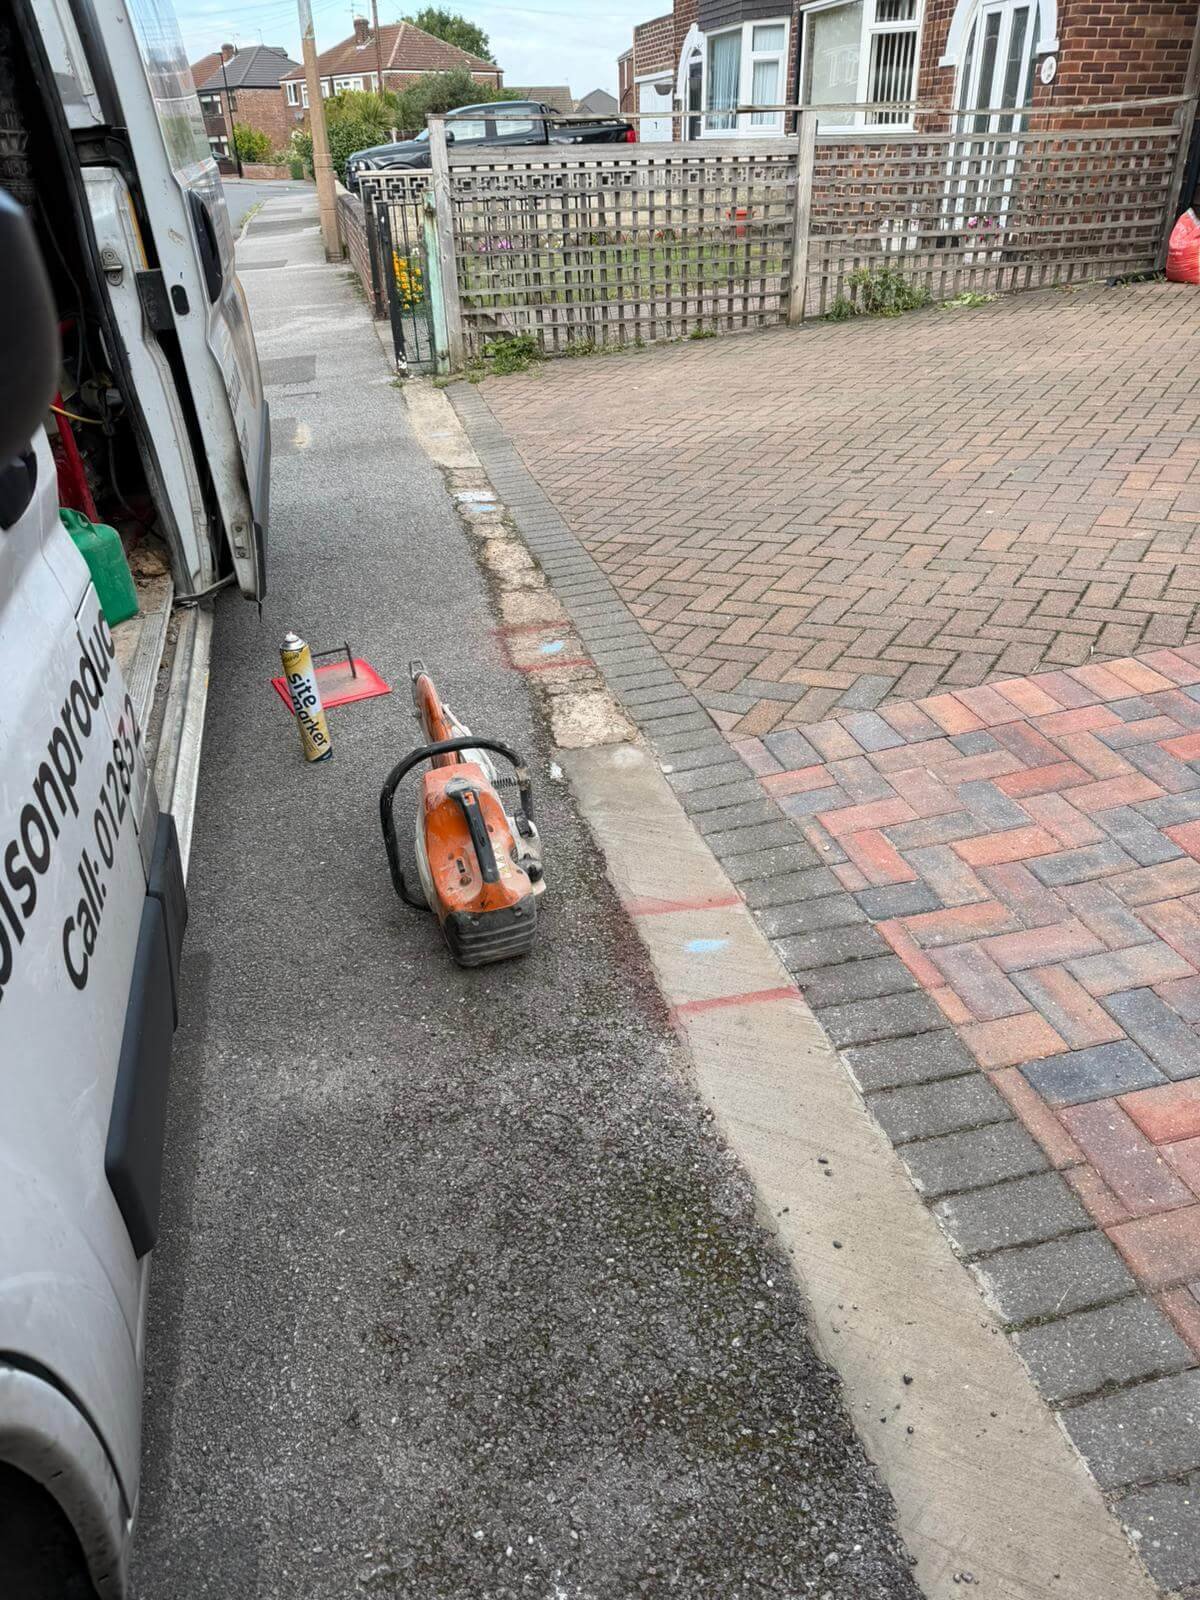
The first, most critical task is to check for underground services. Hitting a water main, gas pipe, or electrical cable is a dangerous, expensive, and entirely avoidable disaster. This isn't just a friendly tip; it's a non-negotiable safety step for any digging on your property.
Locating Hidden Dangers Underground
The professional way to locate hidden utilities is with a Cable Avoidance Tool (CAT scanner). This might sound like specialist kit, but you can easily hire one from most local tool hire shops. It’s a small price to pay for what it prevents.
For an extra layer of certainty, it’s also wise to consult your property's utility plans, which you can often get from service providers. These will give you a map of where services run to and from your house.
Expert Tip: Never assume the plans are 100% accurate. Use them as a guide, but always confirm with a CAT scan before breaking ground. Buried lines can shift, and previous work might not have been recorded.
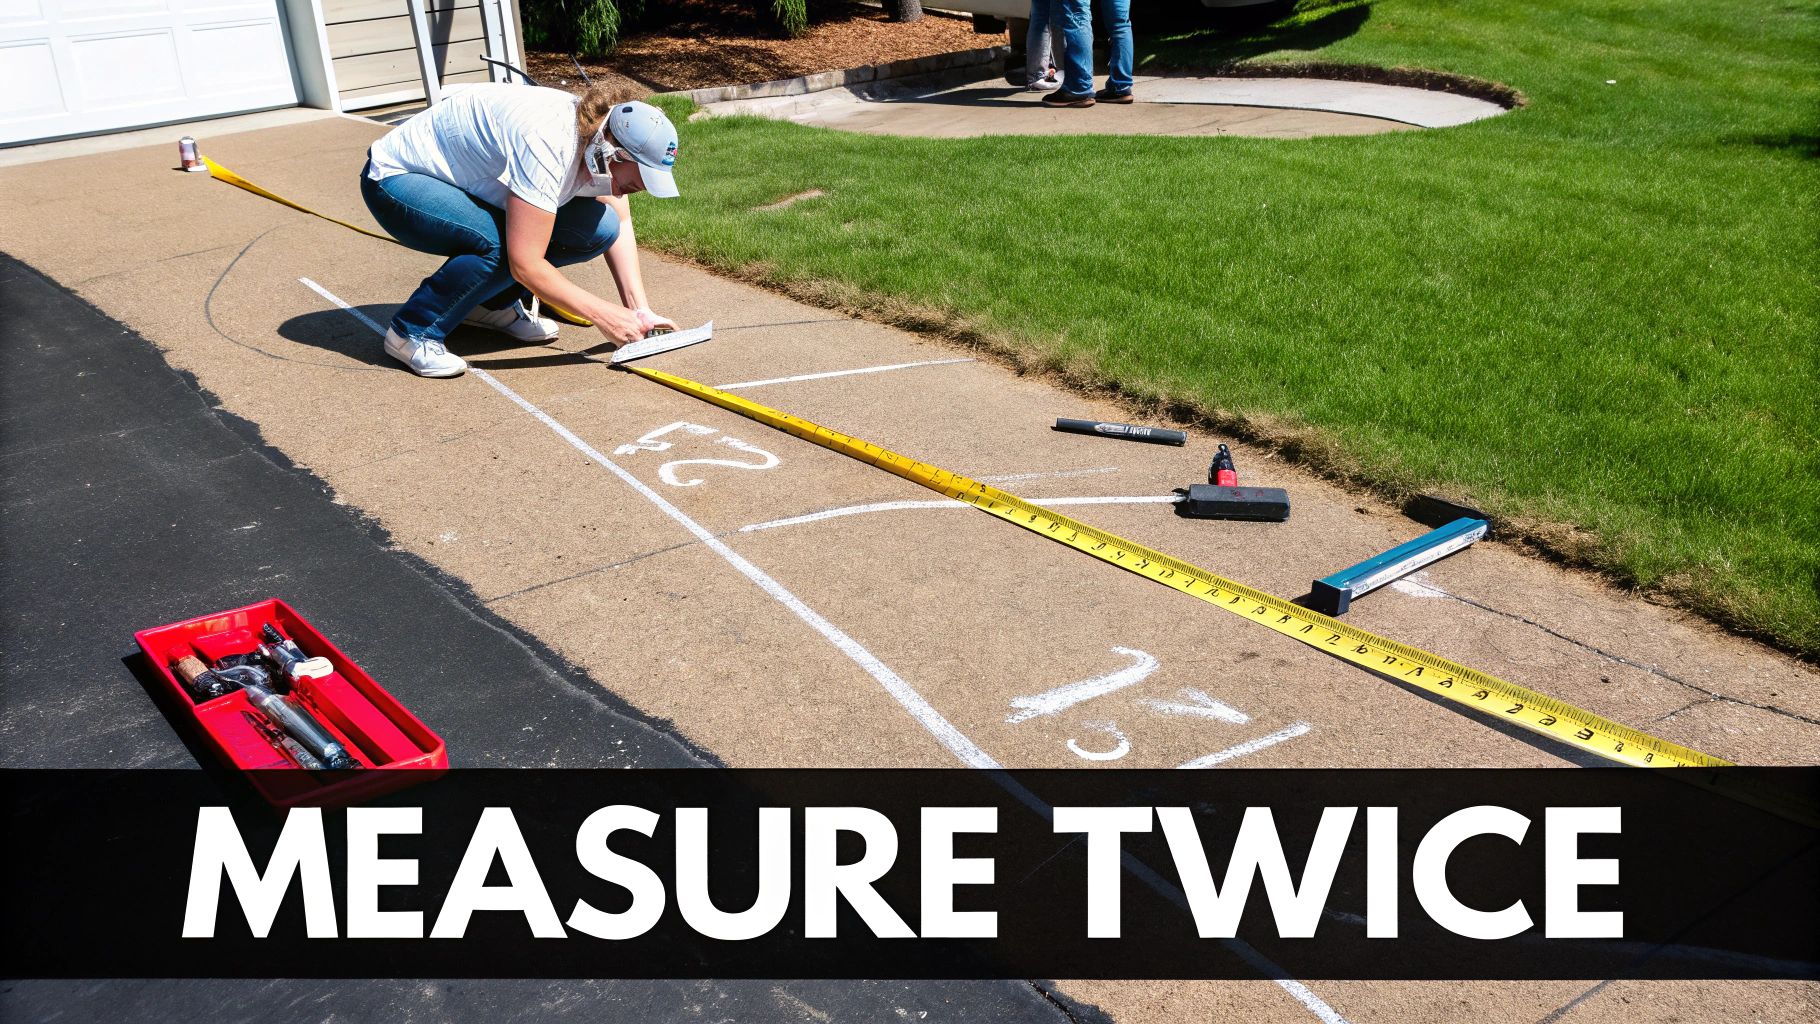
Marking Your Post's Position
With the safety checks done, you can pinpoint the perfect spot for your post. This is about more than just blocking a car; it's about integrating it into your daily life.
Consider the turning circle of your vehicles. Will the post be a nuisance when you're parking or pulling out? You also need to think about pedestrian access.
-
Vehicle Access: Place a marker (a brick will do) where you plan to install the post. Drive your car on and off the driveway a few times to be sure it doesn't get in the way.
-
Pedestrian Flow: Ensure there's a clear, safe path for people to walk past, especially if your driveway is the main walkway to your front door.
-
Aesthetic Alignment: Think about how the post will look. Centring it in the driveway entrance usually provides the neatest and most effective driveway protection.
Once you're happy with the location, mark it clearly with spray paint or a stake.
Clearing the Area for Work
Finally, clear the immediate area. This creates a safe and efficient workspace, preventing trips and giving you room to mix concrete and handle tools.
Move any loose gravel, planters, or other obstacles within a two-metre radius of your marked spot. A tidy site makes the whole driveway security post installation process smoother and safer.
Gathering Your Tools and Materials
Before breaking ground, having all your tools and materials ready is key to a smooth driveway security post installation. It's like cooking: you wouldn't start without your ingredients prepped. A checklist prevents that frustrating last-minute dash to the DIY shop.
A successful installation isn't just about the post; it's about the robust foundation holding it in place. Using the right gear from the start guarantees a secure, long-lasting fit that will protect your property for years.
Essential Digging and Mixing Equipment
Right, let's talk digging. The tool you choose can make a huge difference. A standard shovel will work, but a post-hole digger is purpose-built for creating deep, narrow holes with far less effort. If you're tackling tough, compacted ground or old concrete, you might even need to hire a small breaker for the day.
When it comes to setting the post, the concrete mix is crucial. We always recommend a fast-setting mix like Postcrete. It’s designed for this job, offers brilliant durability, and cuts down the time you have to wait before the post is solid.
Here’s a quick rundown of what you’ll need:
-
Excavation Tools: A set of post-spoons or a good shovel, a breaker, a grafter and some buckets.
-
Mixing Tools: A wheelbarrow or large bucket for mixing concrete.
-
Measurement Tools: A tape measure and, most importantly, a spirit level to get your post perfectly upright.
-
Safety Gear: This is non-negotiable. Steel-toed boots, heavy-duty gloves, and safety glasses are a must.
A professional installation is only as good as the tools used. Investing in the right gear, or ensuring your chosen installer uses high-quality equipment, is essential for a finish that stands the test of time.
Materials for a Rock-Solid Foundation
Beyond the post and concrete, a couple of other items are vital for creating a foundation that drains properly. This is especially important for telescopic posts, where preventing water ingress is the secret to a long, trouble-free life.
You’ll want a small bag of aggregate or gravel to create a soakaway at the bottom of the hole. This simple step allows rainwater to drain away from the base, preventing water damage and issues caused by freezing and thawing in winter. It’s one of those small details that makes a huge difference.
For a full range of ancillary items, you can explore our collection of essential installation tools and accessories to make sure you've got everything you need. This preparation ensures your vehicle security is built on solid, reliable footing.
Installing Your Post For Lasting Security
With your prep work done, it’s time to get your hands dirty and begin the physical driveway security post installation. This is where your planning becomes real, tangible protection. We’ll walk you through this in clear stages to ensure a professional, solid result.
First, excavation. The size of the hole is critical and depends on your chosen post. A static post might only need a modest foundation, but a telescopic bollard needs a much deeper hole to house its casing when retracted. Always check the manufacturer's specific guidelines.
Digging The Foundation
For most standard telescopic posts, a hole around 200mm square and at least 100mm deeper than the post's outer casing is a great starting point. That extra depth is essential for creating a proper drainage system.
Before mixing concrete, create a gravel soakaway. Pour a generous layer of gravel or aggregate into the bottom of the hole. This creates a space for any water to drain away safely, preventing water damage and frost-heave during harsh UK winters.
This simple infographic breaks down the core steps.
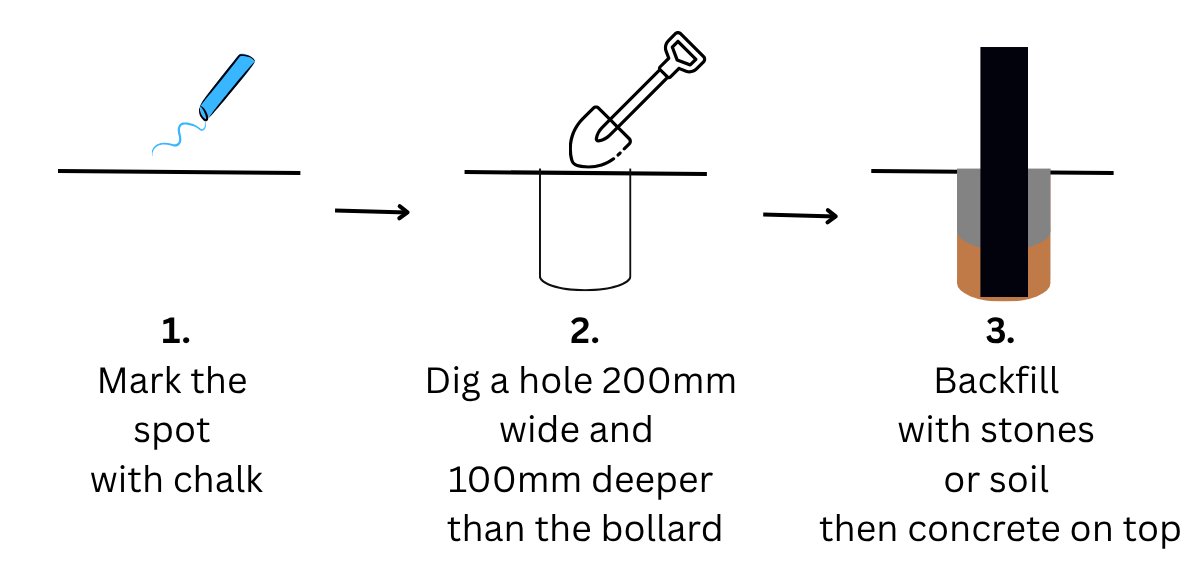
As you can see, the process boils down to marking, digging, and concreting – the fundamental pillars of any successful post installation.
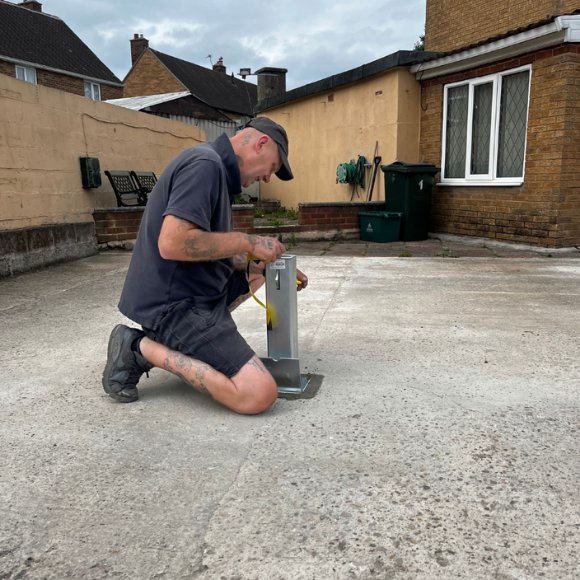
Setting The Post And Concrete
Now for the part that makes or breaks the job—setting the post. Carefully lower the post into the centre of the hole, resting it on the gravel base. This is where your spirit level becomes your most important tool. You must check that the post is perfectly vertical on all sides. A post that’s even slightly off-kilter will look unprofessional and could affect the locking mechanism.
Expert Insight: Take your time with the spirit level. Check it, double-check it, and check it again as you add the concrete. It’s far easier to make tiny adjustments now than to fix a leaning post later.
Once you’re happy it’s perfectly plumb, mix your concrete. Follow the instructions on the bag, aiming for a consistency like a thick cake mix—not too wet, not too dry.
Carefully backfill the hole with gravel and soil, making sure you pack it down well. Next add the concrete layer, gently tamping it down to remove air pockets. Be careful not to knock the post out of alignment as you work. Check levels through all these stages.
The final touch is to slope the top surface of the concrete away from the post. This slight gradient encourages rainwater to run off, adding another layer of driveway protection.
Of course, if this sounds like more than you want to take on, our team is ready to help. You can learn more about our professional supply and fit installation options to guarantee a perfect, hassle-free result.
Final Checks and Long-Term Maintenance Tips
Getting your driveway security post into the ground is a huge step, but the job isn’t quite done. The final checks and a little ongoing care are what separate a good installation from a great one, ensuring your British-made post provides reliable security for years.
First: patience. The concrete needs to cure, and this can't be rushed. We recommend leaving the post completely untouched for at least 24 to 72 hours. The exact time depends on the weather—it will cure faster on a warm, dry day than in colder, damp conditions.
Performing Post-Installation Checks
Once the concrete has fully hardened, it’s time for a thorough once-over. This is about making sure everything works perfectly before you start relying on it to protect your vehicle.
Start by giving the post a firm push from a few different angles. There will be slight movement with the part that moves but no movement with the part thats in the ground. There should be absolutely no wobble or give. If you feel any movement, it could indicate an issue with the foundation that needs addressing.
Next, test the locking mechanism several times. Whether it's a telescopic or removable post, the lock should engage smoothly and securely without sticking, grinding, or resistance. If it is tight spray a little lubricant in the lock and it should move freely.
Your driveway security post is a long-term investment in your home's safety. A few minutes of care each season ensures it remains a dependable part of your vehicle security strategy, protecting your property and your peace of mind.
A Simple Maintenance Schedule for Longevity
Like any outdoor equipment, your security post will benefit from a little ongoing care. A proactive approach prevents common issues and keeps everything working perfectly. Here’s a simple checklist we give our customers:
-
Quarterly Clean: Every few months, wipe the post down with a cloth and warm, soapy water. This removes the dirt and grit that can interfere with moving parts.
-
Lubricate the Lock: Twice a year is ideal—we suggest before winter and again in spring. A quick spray of a silicone-based lubricant into the lock will prevent it from seizing in cold weather.
-
Inspect the Base: Once a year, check the concrete base for any signs of cracking. Tiny hairline cracks are usually fine, but anything larger should be filled to stop water from getting in and causing frost damage.
-
Grease Hole: On the side of a some of our bollards is a 4mm lubrication hole. Spray a lubcricant into this hole to keep the locking arm moving freely. If there isn't a hole you don't need to lubricate.
This proactive maintenance keeps your post working flawlessly and ensures it remains a strong visual deterrent. A well-maintained post can also have a financial benefit. Insurers often look favourably on homeowners who take these extra security measures.
And on the off chance you need a new part down the line, our guide on ordering a replacement security post makes it simple. Following these steps ensures your British-made investment continues to deliver unwavering security.
Got a Question About Your Installation?
Even with the best instructions, questions can pop up during a driveway security post installation. Having been in this business since 1972, our professional fitters have seen it all. We've gathered the most common queries to give you extra confidence.
A classic question is about installing on a sloped driveway. The answer is yes, absolutely. The trick is to ensure the top of the post is perfectly level when raised, regardless of the angle of the drive. A spirit level is essential while the concrete is still wet to get it absolutely plumb.
Permissions and Practicalities
What about planning permission? This is another frequent query. The good news is that for most residential properties, you do not need planning permission, as driveway posts typically fall under 'permitted development rights'.
However, if you live in a conservation area, own a listed building, or have specific covenants on your property, it’s always wise to have a quick chat with your local council first.
We're also often asked about the investment. The cost of installing security posts in the UK depends on the post you choose and the complexity of the job. A simple manual post is more straightforward than a fully automated system. For a clearer idea of the numbers, you can learn more about typical bollard installation costs by calling our team on 01283 215097.
What About Different Driveway Surfaces?
"My drive isn't tarmac, can you still fit one?" Of course. Our teams handle all sorts of surfaces, from block paving to gravel, every day.
-
For block paving, we carefully lift the blocks in the target area before digging. Afterwards, we cut them neatly to size and re-lay them around the post for a seamless, professional finish that looks like it was always there.
-
For gravel driveways, we pour a concrete collar around the top of the foundation, sitting just below the gravel level. This gives a solid, stable edge and stops loose stones from getting into the post's mechanism.
Whatever your driveway surface, a clean, professional finish is always our goal. You get robust vehicle security that blends perfectly with your property. We hope this guide has given you the confidence and knowledge you need to secure your home.
At Bison Products, we're a family business proud to offer British-made security solutions you can rely on. Explore our full range of security posts and professional installation services today.