The Ultimate UK Guide to Using Bike Hooks in Your Garage
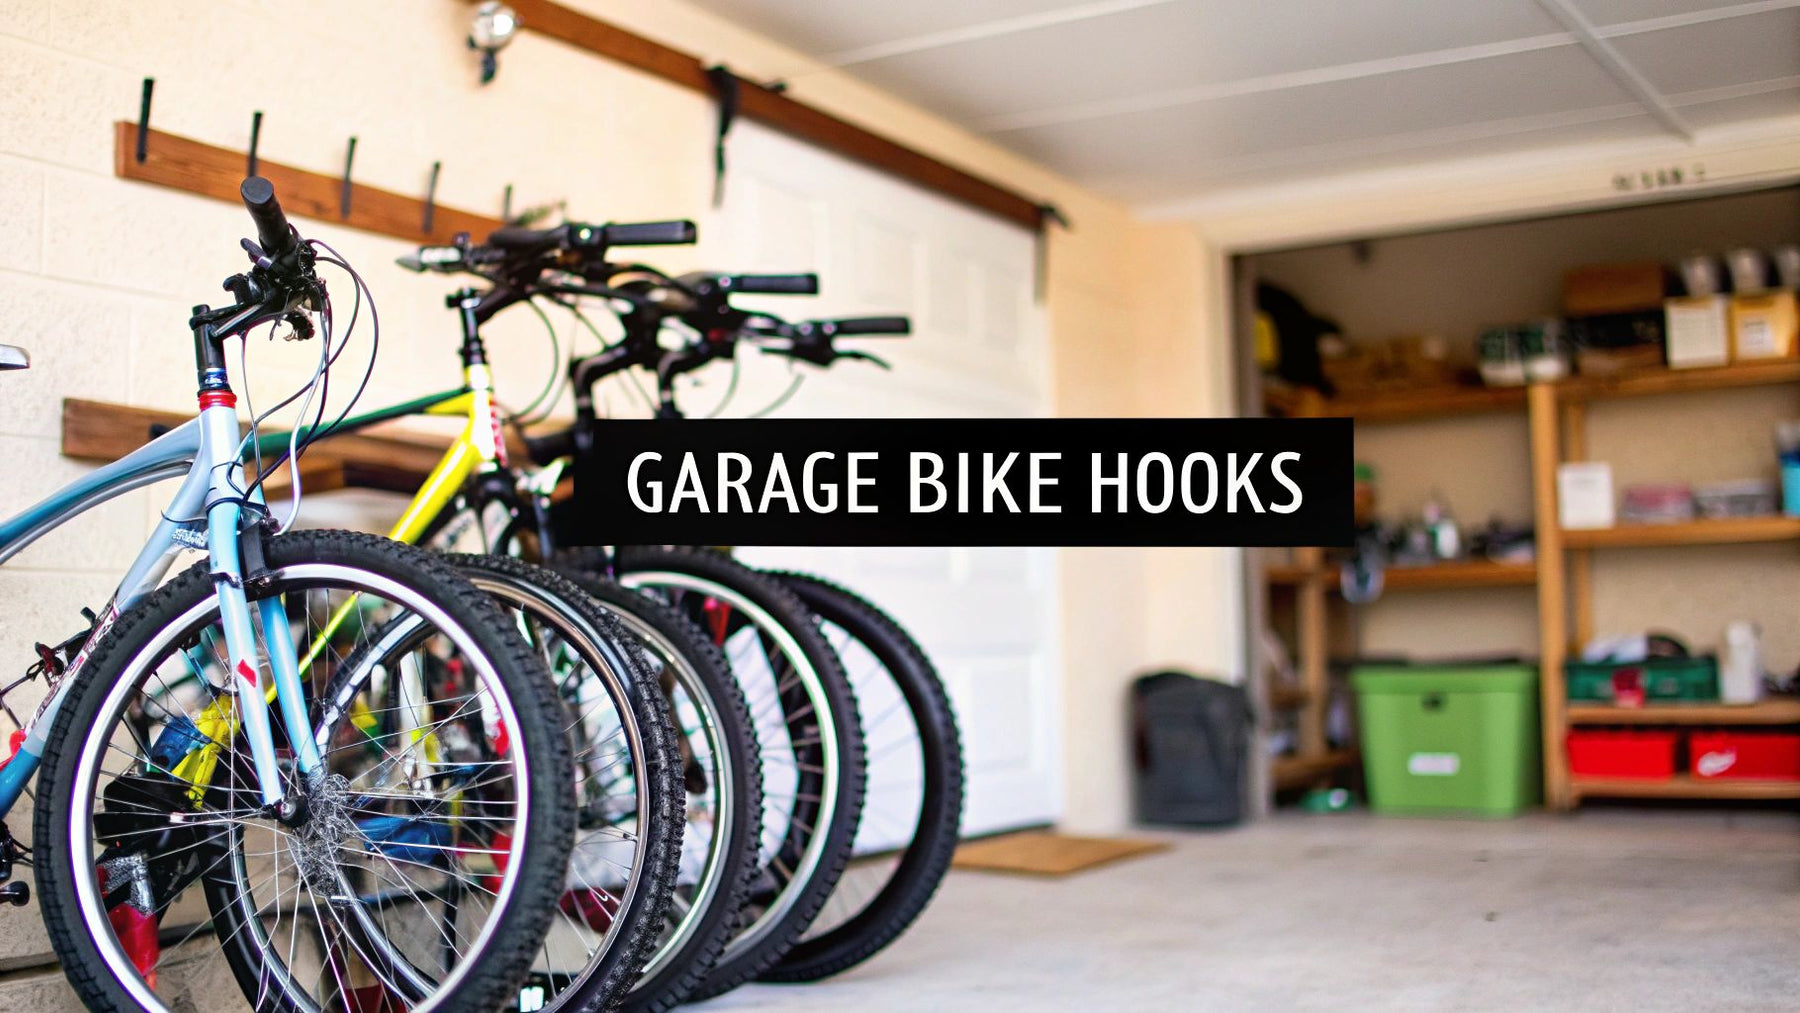
Tripping over bikes is a frustration many of us know all too well. It can quickly turn a useful garage into a chaotic obstacle course, creating a trip hazard for the whole family. Using bike hooks in your garage is a simple but incredibly effective way to win back that precious space, keeping your bikes safe from accidental knocks and making room for the car or your next project. Honestly, it's a total game-changer for home organisation and vehicle security.
Reclaim Your Garage From Bicycle Clutter
It’s a scene we’ve heard about from customers time and time again: a jumble of pedals, handlebars, and wheels that makes the garage almost impossible to use. This isn't just about being untidy; it's about losing valuable, functional space and creating an unsafe environment.
Getting your bikes up off the floor is the single most important step you can take towards a safer, more organised garage. Whether you hang them vertically or horizontally, sturdy, British-made hooks immediately free up floor space, making it much easier and safer to move around.
As a family-owned British business since 1972, we've seen how simple, well-made solutions can completely transform a space. A tidy garage isn't just about aesthetics; it’s about making your home work better for you.
This guide will give you clear, practical advice on choosing and installing the perfect bike hooks, no matter what kind of walls you have or how many bikes you own. Our goal is to give you the practical know-how for a secure, long-lasting cycle storage solution. We’ll cover everything from picking the right hook to prepping your walls for a professional-level fit.
For a broader look at storage options, you can also explore our guide on bike racks for the home.
How to Choose the Right Bike Hooks
Choosing the right bike hooks for your garage isn't as simple as grabbing the first thing you see at the hardware shop. The best choice really comes down to your bikes, your space, and what your walls are actually made of. A simple J-hook might be perfect for a lightweight road bike, but it just won't cut it for a heavy electric bike.
Thinking about your specific needs first will save you a world of hassle later on. Always consider the weight of your heaviest bike and the type of wall you're working with—brick and plasterboard require completely different fixings.
Matching the Hook to Your Bike and Space
One of the first decisions you'll make is whether to hang your bikes vertically by a wheel or store them horizontally, parallel to the wall. Vertical storage is a fantastic space-saver, making great use of wall height to get your bikes up and off the floor. This is a brilliant solution for narrower garages in UK homes where every inch of floor space is precious.
Horizontal storage, on the other hand, keeps the bike much closer to the wall. This approach works beautifully in garages with lower ceilings or along long, clear walls where you have a bit more room to play with. For households with several bikes, a mix-and-match approach is often the smartest move, using a combination of our wall-mounted bike racks to make the most of every bit of space.
Our Tip: We always recommend choosing hooks made from solid, powder-coated steel. As a British manufacturer, we know this finish provides superior strength and rust resistance, making sure your investment protects your bikes for years. All our products come with a 2-year warranty for your peace of mind.
Comparing Common Bike Hook Styles
A quick look at the most popular bike hook types to help you find the perfect match for your bikes and garage.
| Hook Style | Ideal For | Space Impact | Typical Installation |
|---|---|---|---|
| Simple J-Hook | Lightweight road or kids' bikes. | Minimal; hangs bike vertically from the wheel. | Screws directly into a wall stud or solid brick. |
| Heavy-Duty Hook | Heavier mountain bikes, hybrids, and e-bikes. | Similar to J-hook but built for higher weight loads. | Requires robust fixings into solid masonry or studs. |
| Horizontal Rack | Storing bikes parallel to the wall; good for lower ceilings. | Protrudes more but keeps bike profile slim. | Mounts at two points for stability; must hit studs. |
| Pivoting Hook | Tight spaces where bikes need to swing flat against the wall. | Excellent space-saver; allows bikes to be nested. | Needs a secure mounting point that can handle torque. |
Each style offers a practical solution depending on what you're trying to achieve. The key is to think about the bikes you own and the wall space you have before you start drilling. This bit of planning ensures you get a secure, tidy, and long-lasting storage setup.
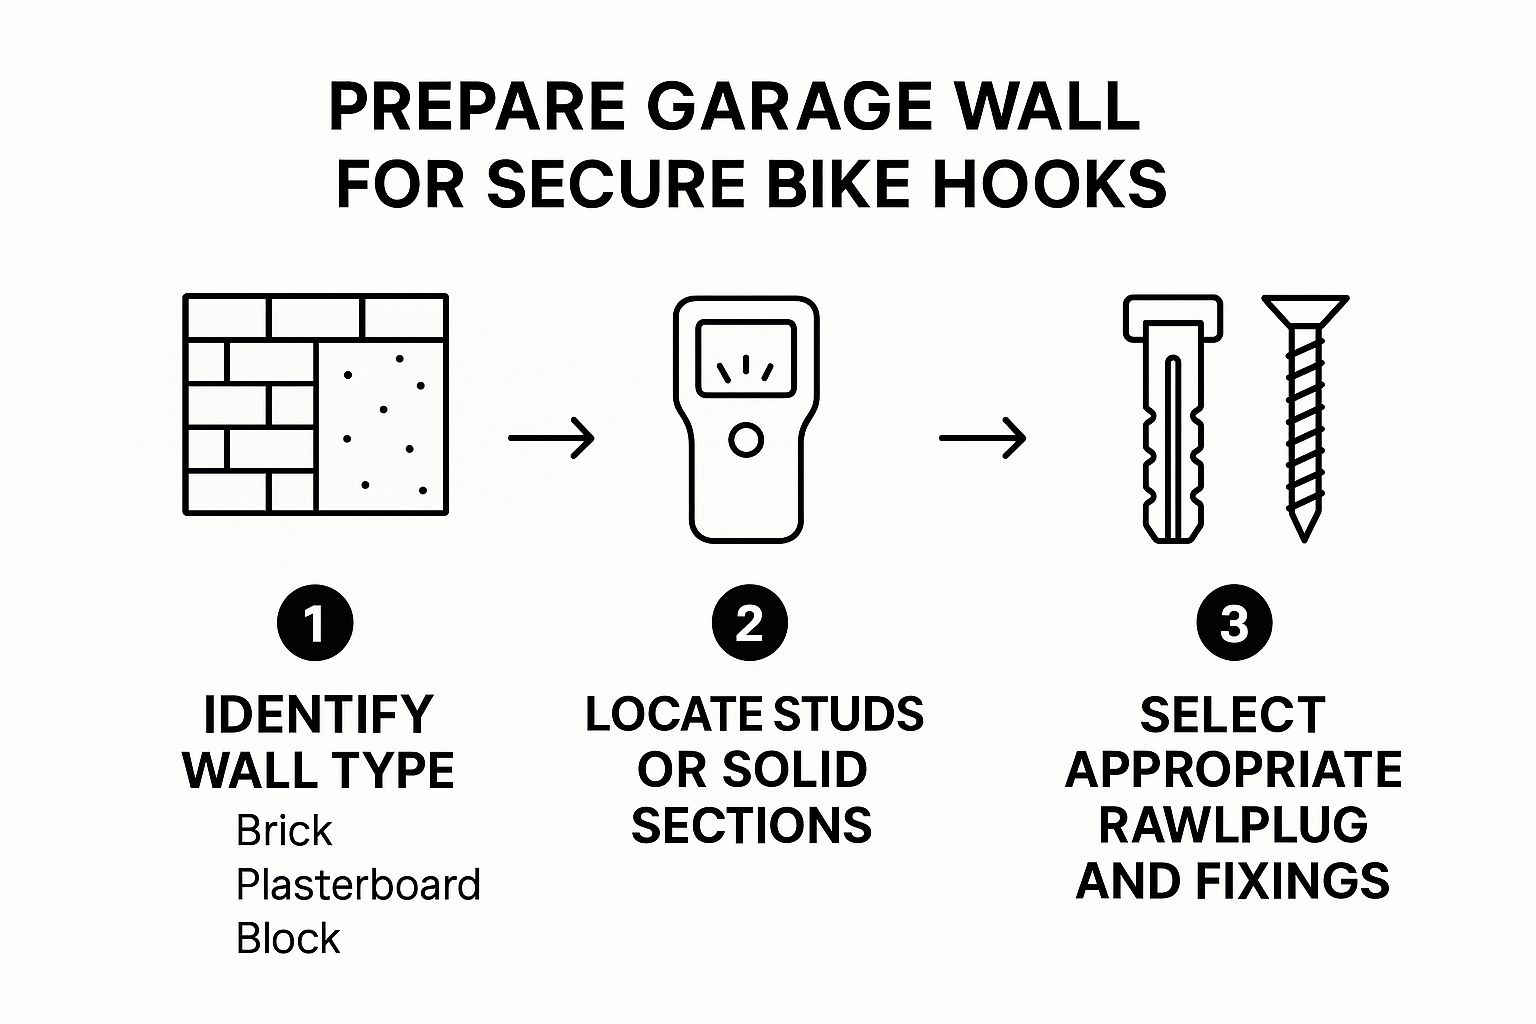
Preparing Your Garage Walls for a Secure Fit
A bike hook is only ever as strong as the wall it's attached to. Before you even think about drilling, it’s vital to get a feel for what you’re working with. Getting this part right is the difference between a secure, long-lasting setup and a bike crashing to the floor in the middle of the night.
In most UK garages, you'll be dealing with one of three wall types: solid brick, breezeblock (or concrete block), or plasterboard fixed onto timber studs. Each one demands a slightly different approach and its own specific hardware to make sure your bike hooks in the garage can safely take the weight.
Identifying Your Wall Type
The quickest way to figure it out is the good old knock test. Give the wall a rap with your knuckles. A solid brick or block wall will sound dull and dead. Plasterboard, on the other hand, will have a distinctly hollow sound between the studs. Knowing what’s under the surface is the most important part of the job.
If you’re dealing with plasterboard, it's absolutely essential to locate the timber studs. A simple electronic stud finder is your best friend here. It’ll pinpoint the vertical supports, which are the only places strong enough to mount a hook. Whatever you do, never mount a bike hook directly into plasterboard alone; it just won’t hold.
Following this process ensures you match the right fixing to your wall, creating a mounting point you can actually rely on.
Choosing the Correct Fixings
Once you know your wall type, picking the right hardware is pretty straightforward.
- For Solid Brick/Block: You’ll want a robust rawlplug and a heavy-gauge screw. These expand inside the wall to create a seriously tight anchor in the masonry.
- For Timber Studs: A long, heavy-duty wood screw that bites deep into the centre of the stud is all you need. No rawlplug necessary.
Before drilling any holes, though, always scan the area with a cable and pipe detector. This quick safety check helps you avoid hitting hidden electrical wiring or water pipes, which can turn a simple DIY job into a very expensive problem.
If you find your garage walls need a bit more work, like some reinforcement or custom shelving, it might be worth consulting with carpentry professionals. And if you're looking to really maximise your space by going upwards, take a look at our specialised roof hook solutions as well.
Installing Your Bike Hooks Like a Pro
Now that your walls are prepped and ready, it’s time for the satisfying part: getting those hooks mounted. Doing this right is what gives you that peace of mind, knowing your bikes are completely secure. It all starts with some careful measuring and marking.
Before you drill a single hole, think about the bikes themselves. You need to factor in handlebar width to avoid a tangled mess. As a rule of thumb, leave at least 30-40cm between each hook. It's also a good idea to measure the height of your tallest bike to make sure the wheel won't be dragging on the floor once it's hanging up.
Smart Spacing for Maximum Storage
Here's a great little trick for fitting several bikes into a tight spot: stagger the hook heights. By mounting one hook a bit higher and the next one lower, you let the handlebars overlap without clashing. It's a simple move, but it can make a massive difference in a crowded garage.
While there isn't much data on private bike hooks in garage setups in the UK, public cycle storage often relies on the same principles to maximise space. The best UK data we have is for council-provided hangars, but the core idea of efficient, clever spacing is exactly the same.
Drilling and Fixing with Confidence
With your plan in place, choosing the right hardware is the next crucial step. You'll find there are various types of fixings available, so be sure to pick the one that matches your wall material.
- For Brick or Block Walls: Grab a masonry bit and drill a clean hole. Make sure it’s deep enough for the entire rawlplug to sit flush with the wall. A gentle tap should see it home, then you can drive the screw in until the hook is pulled completely tight.
- For Timber Studs: You'll want a wood drill bit that’s slightly smaller than the diameter of your screw. This creates a pilot hole, which stops the wood from splitting and gives the screw threads a really tight grip.
Before you even think about hanging your prized bike on that new hook, give it a firm tug. Pull it downwards and then side to side. It should feel absolutely solid, with no wiggle or give whatsoever. This is a non-negotiable final check for safety.
Once the hook is rock-solid and has passed the tug test, you’re ready to hang your bike. Lifting it onto the hook should feel stable and secure, giving you the confidence that your new storage solution is built to last.
Creating a Fully Organised Bike Station
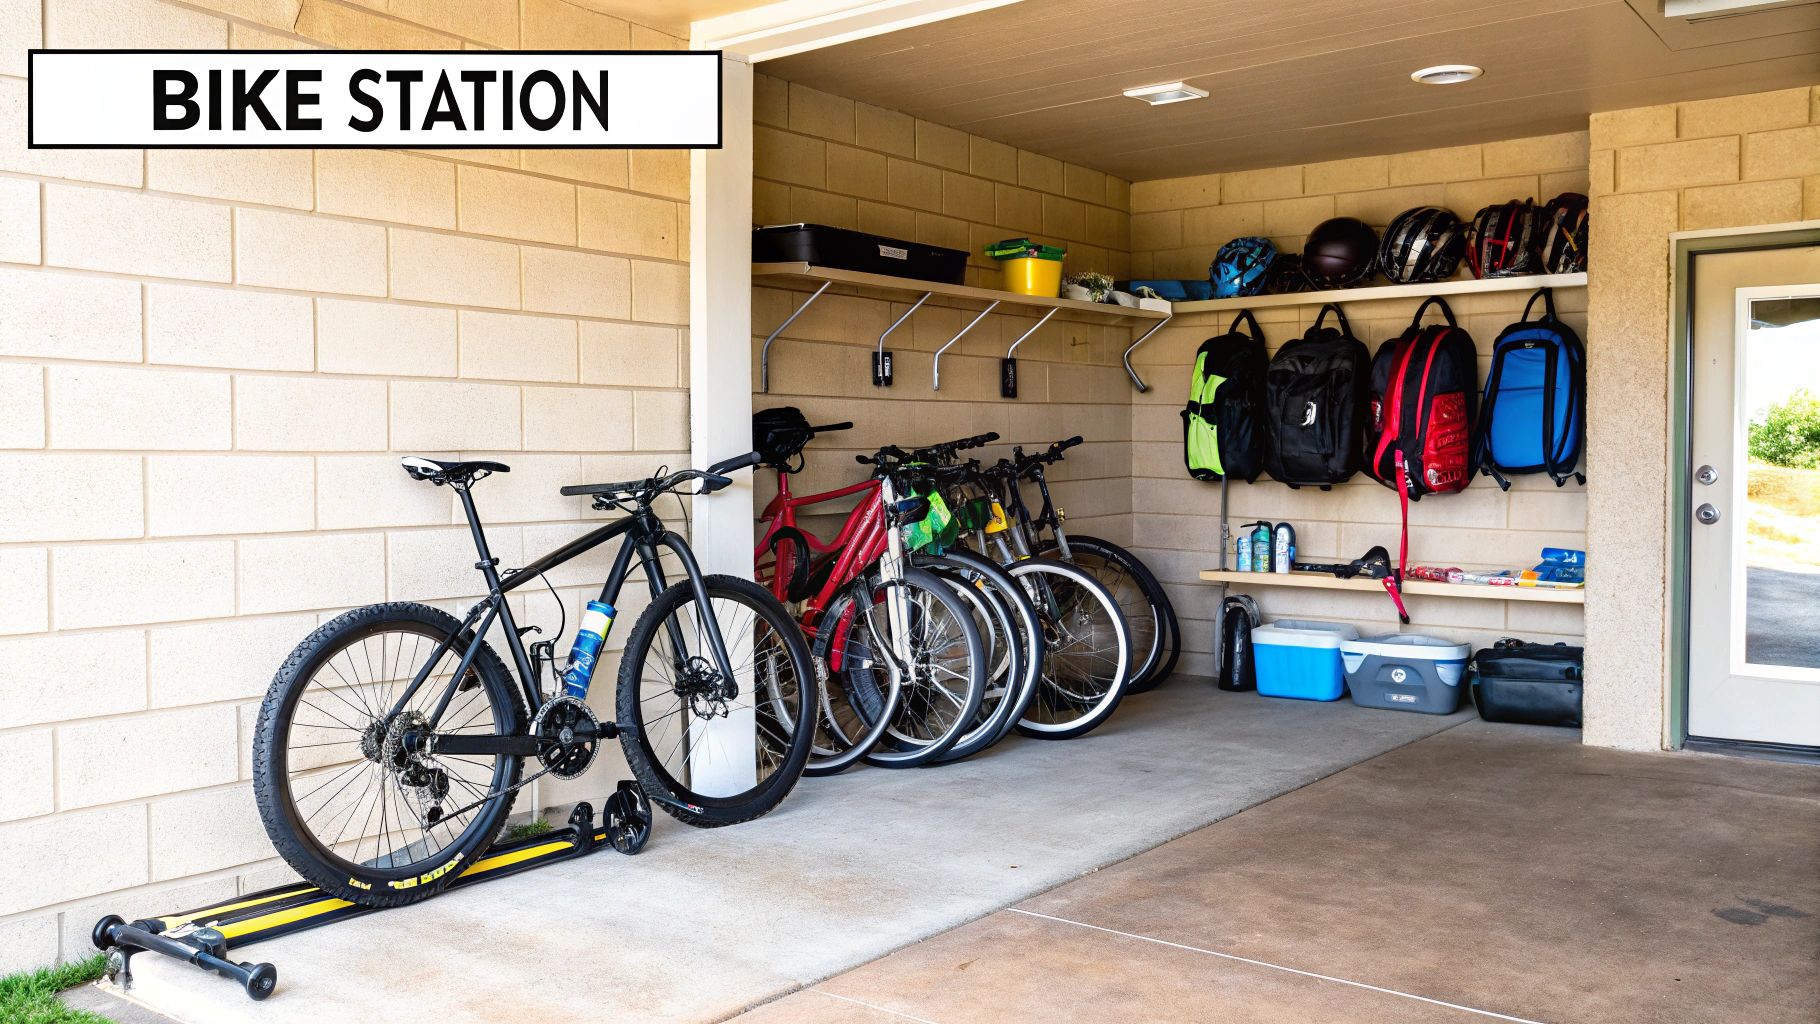
Getting your bikes up on the wall is a fantastic first step, but the real magic happens when you move beyond just storage and create a proper 'bike station'. This is the key to achieving next-level garage organisation and, honestly, making your cycling life that much easier.
Think of it as creating a dedicated zone for all your cycling gear. It’s about more than just a tidy space; it’s about making everything accessible and efficient, so you can get out on the road faster.
Organising Your Cycling Accessories
Once the bikes are hung, you'll suddenly notice all the related clutter that needs a home. A simple shelf or a pegboard system installed right next to your bike hooks works wonders here.
- Shelving: A sturdy shelf is perfect for bulky items that don't hang well, like your helmet and cycling shoes.
- Pegboard: This is a brilliant solution for tools, pumps, and spare inner tubes. Having everything visible and within easy reach is a game-changer.
- Small Bins: Grab some small, labelled containers for little bits like energy gels, repair kits, and gloves.
The goal is to create a 'grab-and-go' setup. When everything has its place, you spend less time rooting around for gear and more time actually enjoying your ride.
Protecting Your Walls and Floor
One common niggle is the black tyre marks that scuff up the wall behind the rear wheel. A simple fix I’ve used myself is to install a small, clear plastic or metal scuff plate where the tyre usually rests. This tiny addition keeps your walls looking clean and fresh for years.
With the bikes now off the floor, you've unlocked some seriously valuable real estate. This new space is perfect for a workbench or other storage units you've been wanting to fit in. For more comprehensive advice on protecting your investment, check out our guide on how to securely store and protect your bike.
Common Questions About Garage Bike Hooks
Even with the best-laid plans, it’s completely normal to have a few lingering questions before you start drilling into your garage walls. As a family business that’s been around since 1972, we’ve heard just about every question you can imagine. Here are the answers to the ones that pop up most often.
We want you to feel confident you can get this job done right, ending up with bike storage that’s safe, secure, and makes the best use of your space.
Can Any Bike Be Hung from a Standard Hook?
Most standard J-hooks are rated to hold bikes up to around 20kg (roughly 44 lbs). That’s more than enough for the majority of road bikes, hybrids, and kids' bikes out there. However, if you're dealing with a heavier mountain bike or a hefty e-bike, you’ll absolutely need to step up to a heavy-duty wall rack built for that extra load.
Always, always check the manufacturer’s weight rating. It’s also crucial that you fix it into a solid structural point, like a timber stud or brickwork. Never trust plasterboard on its own to take that kind of weight.
Will Hanging a Bike by Its Wheel Cause Damage?
This is a concern we hear all the time, but for the vast majority of modern bikes, hanging them by the wheel is perfectly safe. The wheel rims on today's bikes are incredibly strong – they’re designed to handle forces far greater than the bike's own weight just sitting there. It's a universally accepted and reliable method for everyday cycle storage.
The only time you might need to think twice is with some older hydraulic brake systems if the bike is stored upside down for a long time, which isn't how these hooks work anyway.
A good starting point for spacing is 30-40cm (12-16 inches) between hooks, but the real deciding factor is your handlebar width. Measure your widest set of bars and add a few extra centimetres for comfortable clearance.
Here’s a great space-saving trick: stagger the heights of the hooks next to each other. By mounting one high and the next one low, you let the handlebars overlap without clashing, which can make a huge difference in a tight space.
Ready to create an organised, secure bike station in your own garage? Bison Products offers British-made, heavy-duty bike storage solutions designed for durability and security. With free UK delivery and professional installation available, we make it easy to protect your property. Have a look at our range today and take back your garage.